Published September 8, 2011 06:00AM
Braising Basics
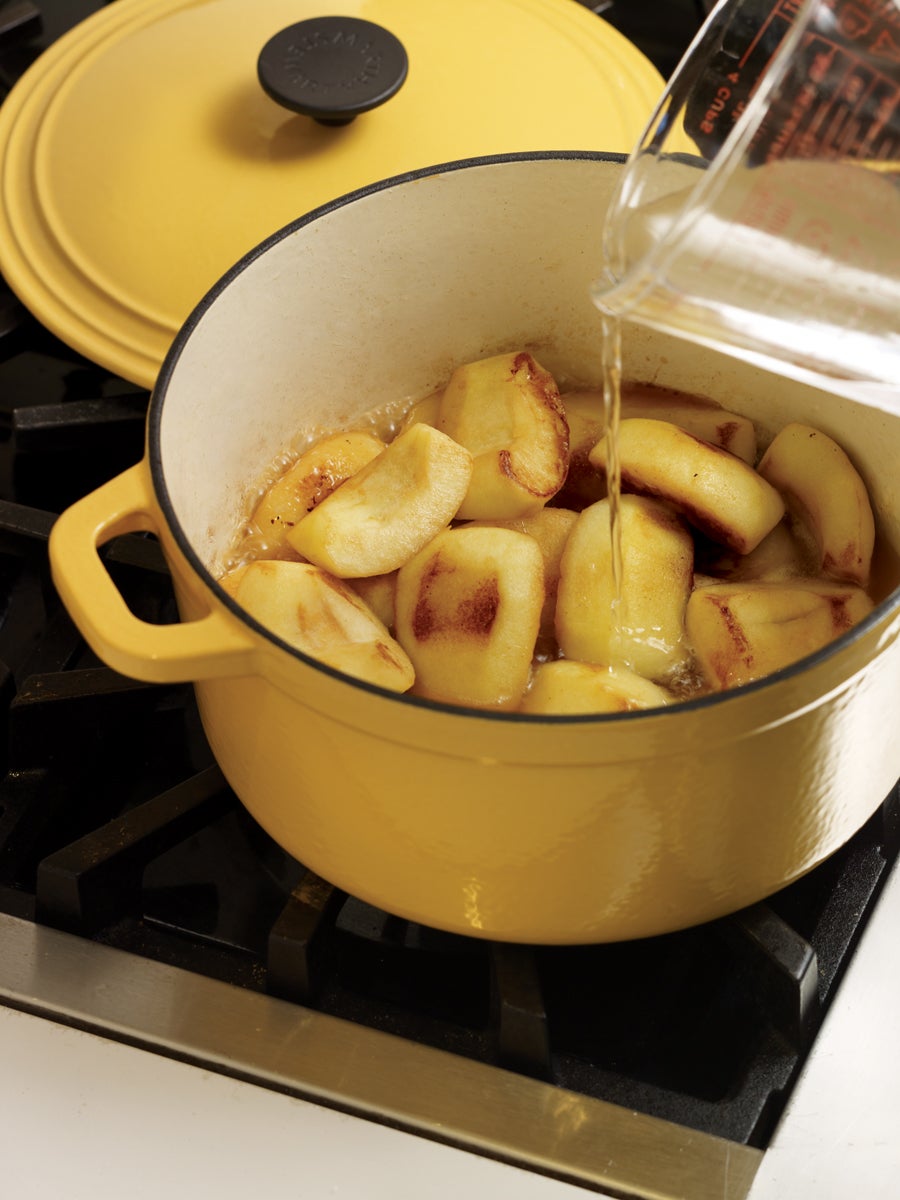
Braising is one of those culinary terms that can confuse even experienced chefs, who tend to bandy it about to describe just about any dish that’s cooked, covered, in a small amount of liquid. But the real secret to braising comes from browning foods before the liquid is added. This sautéing step adds color and develops flavors before the simmering heat does its job tenderizing foods and concentrating the cooking juices. The following recipes show how it’s done.
What You’ll Need
Wide, heavy-bottomed pan or Dutch oven with tight-fitting lid
Tongs for turning foods as they brown
Spatula or wooden spoon
4 Easy Steps
1. Brown food all over in a little fat. The darker the browning, the richer the flavors of the final dish. Make sure there’s room in the pot for foods to fit snugly in a single layer so that they will brown, not steam. (If food is packed too tightly, brown it in batches.)
2. Add liquid to cover food halfway. This allows the ingredients to braise rather than boil.
3. Cover tightly. Because the braising liquid does not completely cover the food, a tight lid is essential to seal in heat and moisture.
4. Cook low and slow. Simmer food over medium-low heat, or oven-braise (place pan or Dutch oven in 300° oven) to ensure cooking liquid doesn’t evaporate.